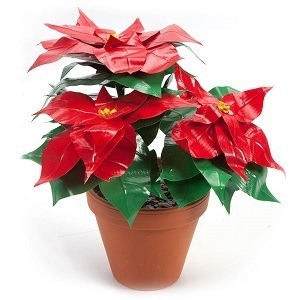
Duck Tape® Poinsettia
Advanced
Craft Time: 45 MINS - 1 HOUR
You will need:
- Duck Tape®
- Floral wire
- Dowel rod
- Craft knife
- Flower pot
- Foam
- Crafting board
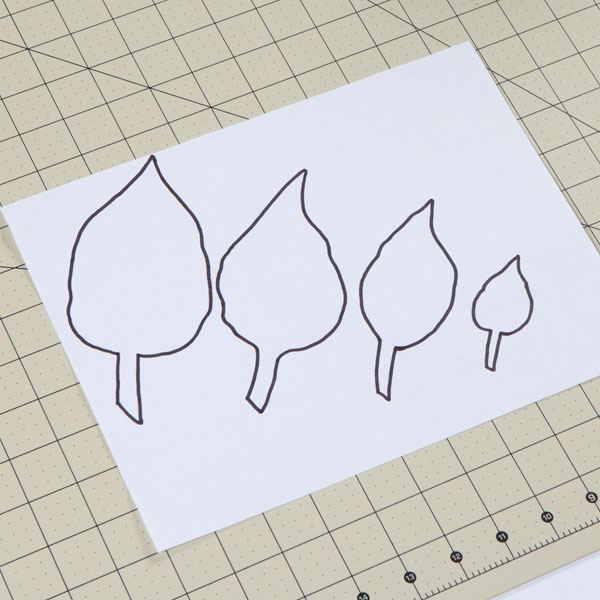
Step 1
Create a pattern to use for your Poinsettia leaves. Create three or four different sizes of leaves.
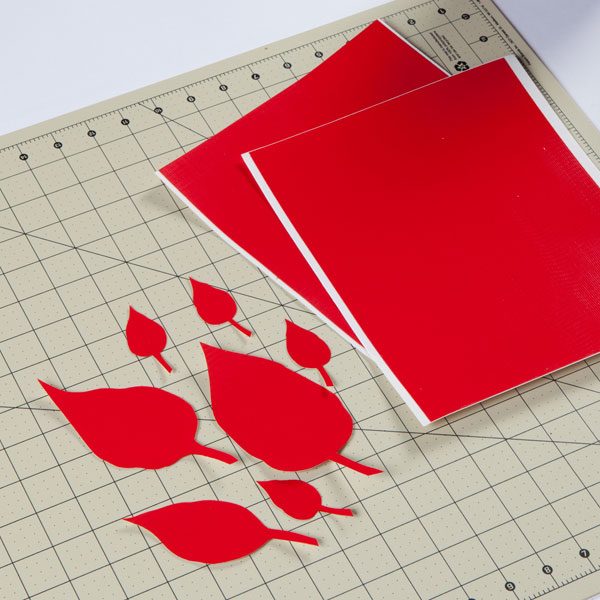
Step 2
Trace a variety of the leaves you created in Step One on some red Duck Tape®. (use a non stick crafting board to lay the tape down onto for ease of cutting.)
Cut out the leaves with a crafting knife.
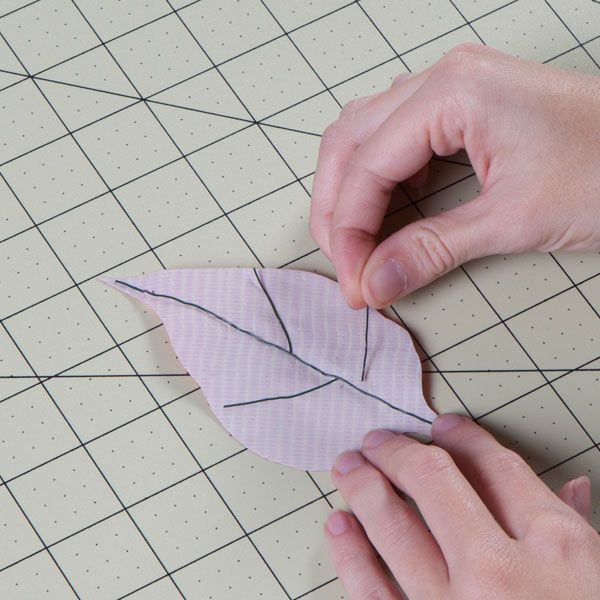
Step 3
Turn the leaves over so they are sticky side up. Place the floral wire as to imitate the veins of a leaf.
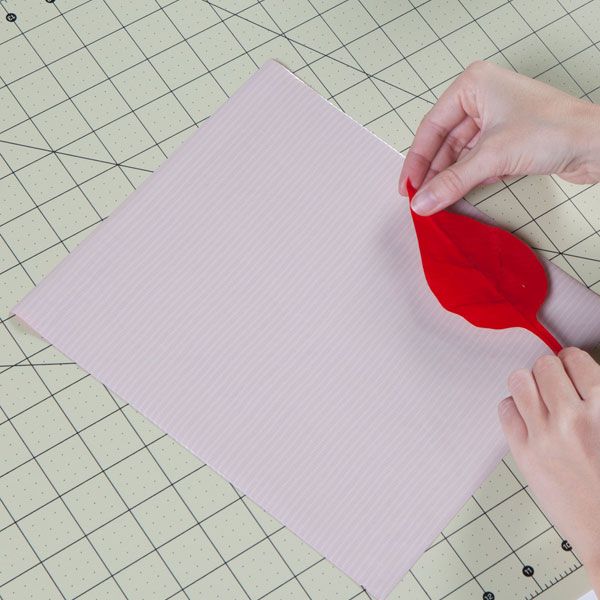
Step 4
Cover each leaf with another piece of red Duck Tape® and trim around it to make the leaves.

Step 5
Attach the leaves to the dowel rod by wrapping small pieces of Duck Tape® around the stem. As shown attach the smaller leaves first at the top of the dowel rod and attach larger leaves and you work your way down.

Step 6
Continue attaching leaves until the poinsettia reaches your desired fullness.
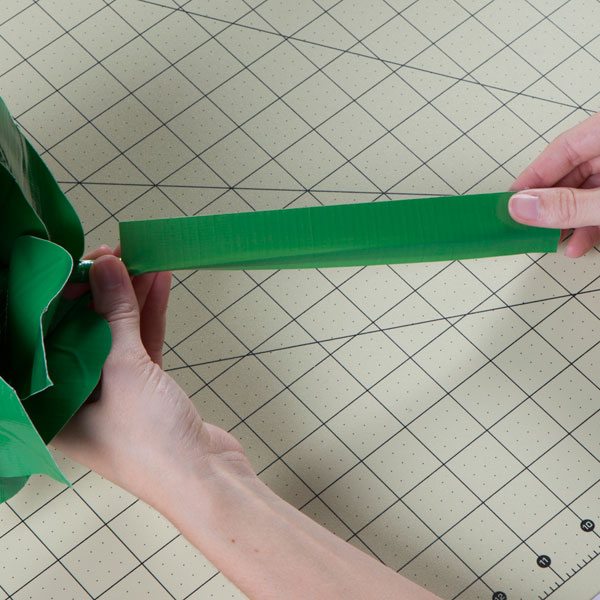
Step 7
Repeat except use green Duck Tape® instead of red. Trace only the two largest leaves. The green leaves can be attached to the dowel rod underneath the red leaves.
Cover the remainder of the dowel rod by wrapping around strips of green Duck Tape®.
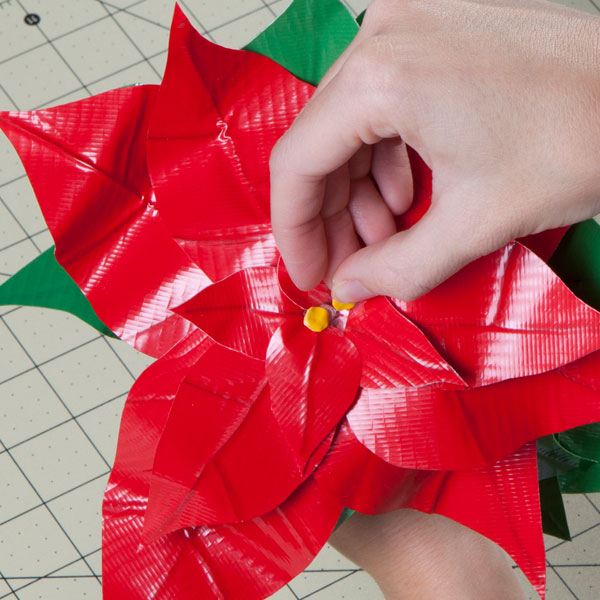
Step 8
Roll small pieces of yellow duct tape into balls and use as the cluster in the centre of each poinsettia plant. Use double-sided tape to attach the cluster.
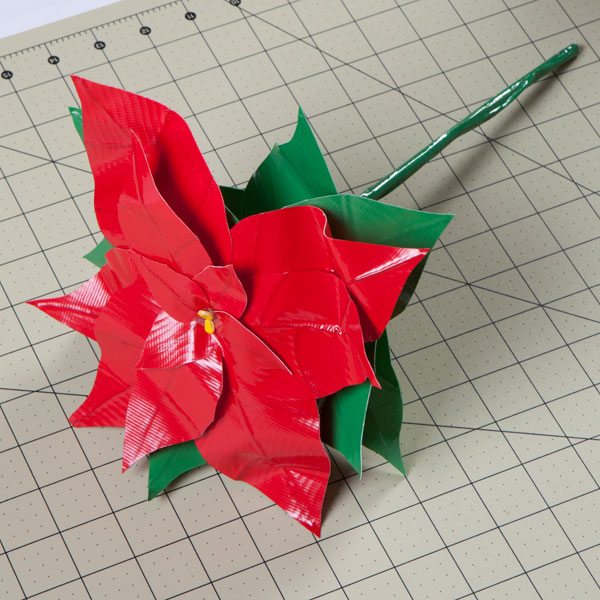
Step 9
Place a block of Polystyrene or oasis in a pot and stick the dowel rods through to keep them in place.